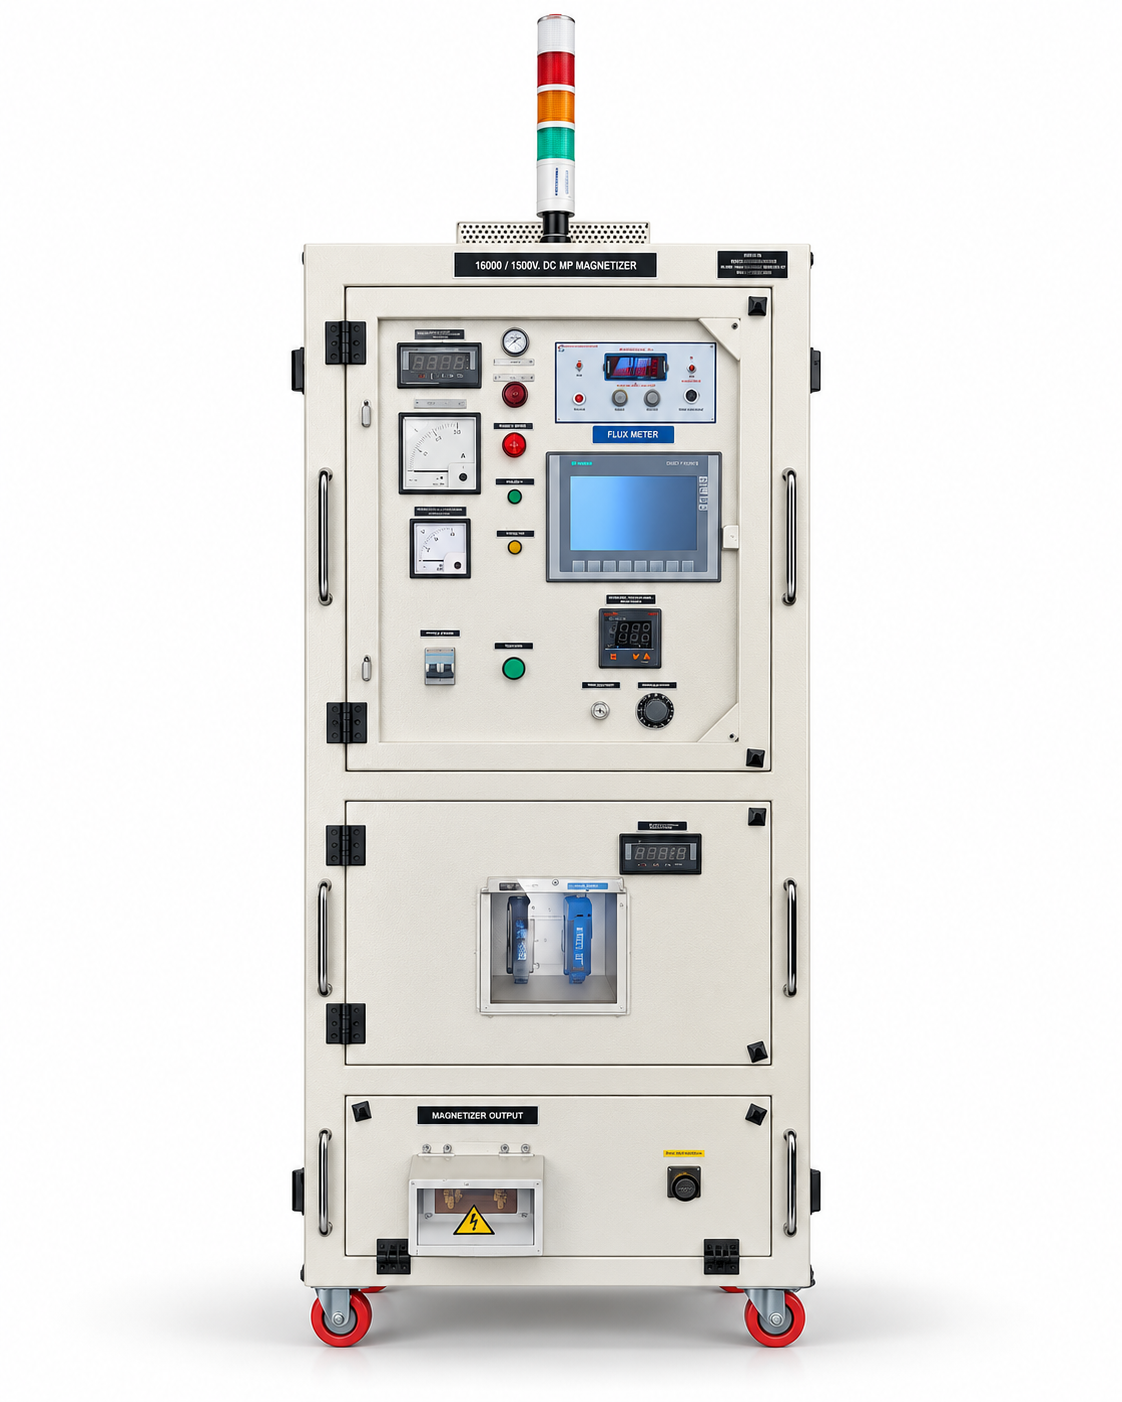
Buying a magnetizer is less about picking a model from a catalogue and more about matching a machine to a part. Two factories that magnetize a similar rotor can need quite different machines if their magnet grades, production rates or quality checks differ. This guide sets out the questions the SK Enterprises team works through before recommending a configuration.
Key takeaways
- Start with the part: magnet material and grade, dimensions, pole pattern, and whether it is magnetized loose or as an assembly.
- The energy rating must be enough to saturate the most demanding part you will run, through the fixture you will use.
- Voltage and fixture design go together. A fixture is wound for a particular voltage and current.
- Cycle time depends on charger power, fixture heating and part handling, not on the pulse itself.
- Plan quality checks, such as peak-current monitoring and flux measurement, at the specification stage rather than after installation.
Step 1: Gather the right information
| Information | Why it matters |
|---|---|
| Magnet material and grade | Sets the magnetizer field required. High-coercivity NdFeB and SmCo grades need far more field than ferrite. |
| Part drawing and dimensions | Sets the coil bore or fixture geometry and the volume of magnet to saturate. |
| Magnetization direction and pole pattern | Axial, radial and multi-pole magnetization each need a different fixture. |
| Loose magnet or assembly | Steel cores, housings and adhesives change the magnetic circuit and add eddy-current losses. |
| Output per hour or shift | Sets charger power, fixture cooling and the degree of automation. |
| Quality requirement | Decides whether you need peak-current monitoring, data logging or in-line measurement. |
| Site supply and layout | Single- or three-phase supply, floor space and any link to conveyors or robots. |
An unmagnetized sample part, and if possible a correctly magnetized reference part, is often the most useful thing you can provide.
Step 2: Size the energy
The energy rating in kilojoules is the headline figure, but it is not a direct measure of a magnetizer’s ability. What matters is the field achieved inside the magnet. The energy needed rises with:
- the coercivity of the magnet material (see field requirements for ferrite, NdFeB, SmCo and alnico);
- the volume of magnet, and the number of magnets charged in one shot;
- air gaps and the distance between the winding and the magnet;
- multi-pole patterns, especially with fine pole pitch;
- conductive parts and surrounding steel, which cause eddy-current losses.
An undersized machine produces magnets that look fine but deliver lower flux and vary from part to part. An oversized machine is less of a problem technically, but it costs more, and a small fixture on a large bank must be protected by limiting the voltage. A sensible approach is to size for the most demanding part you expect to run, add a margin, and then confirm saturation on real samples.
Step 3: Choose the voltage
Because stored energy is ½CV², the same energy can come from a large capacitance at a lower voltage or a smaller capacitance at a higher voltage. The right balance depends on the fixture:
- Fixtures with many turns have higher inductance and need more voltage to drive current quickly.
- Fixtures with a few heavy turns work at lower voltage but much higher current.
- Fixture insulation, cables and connectors must all be rated for the machine’s maximum voltage.
Industrial capacitor discharge magnetizers commonly offer adjustable charging voltage, typically up to somewhere between 1,000 and 3,000 V depending on the design. For the circuit theory, read how a capacitor discharge magnetizer works.
Step 4: Select the coil or fixture
| Part | Typical tooling |
|---|---|
| Loose discs, blocks and rings magnetized through their thickness | Solenoid magnetizer coil |
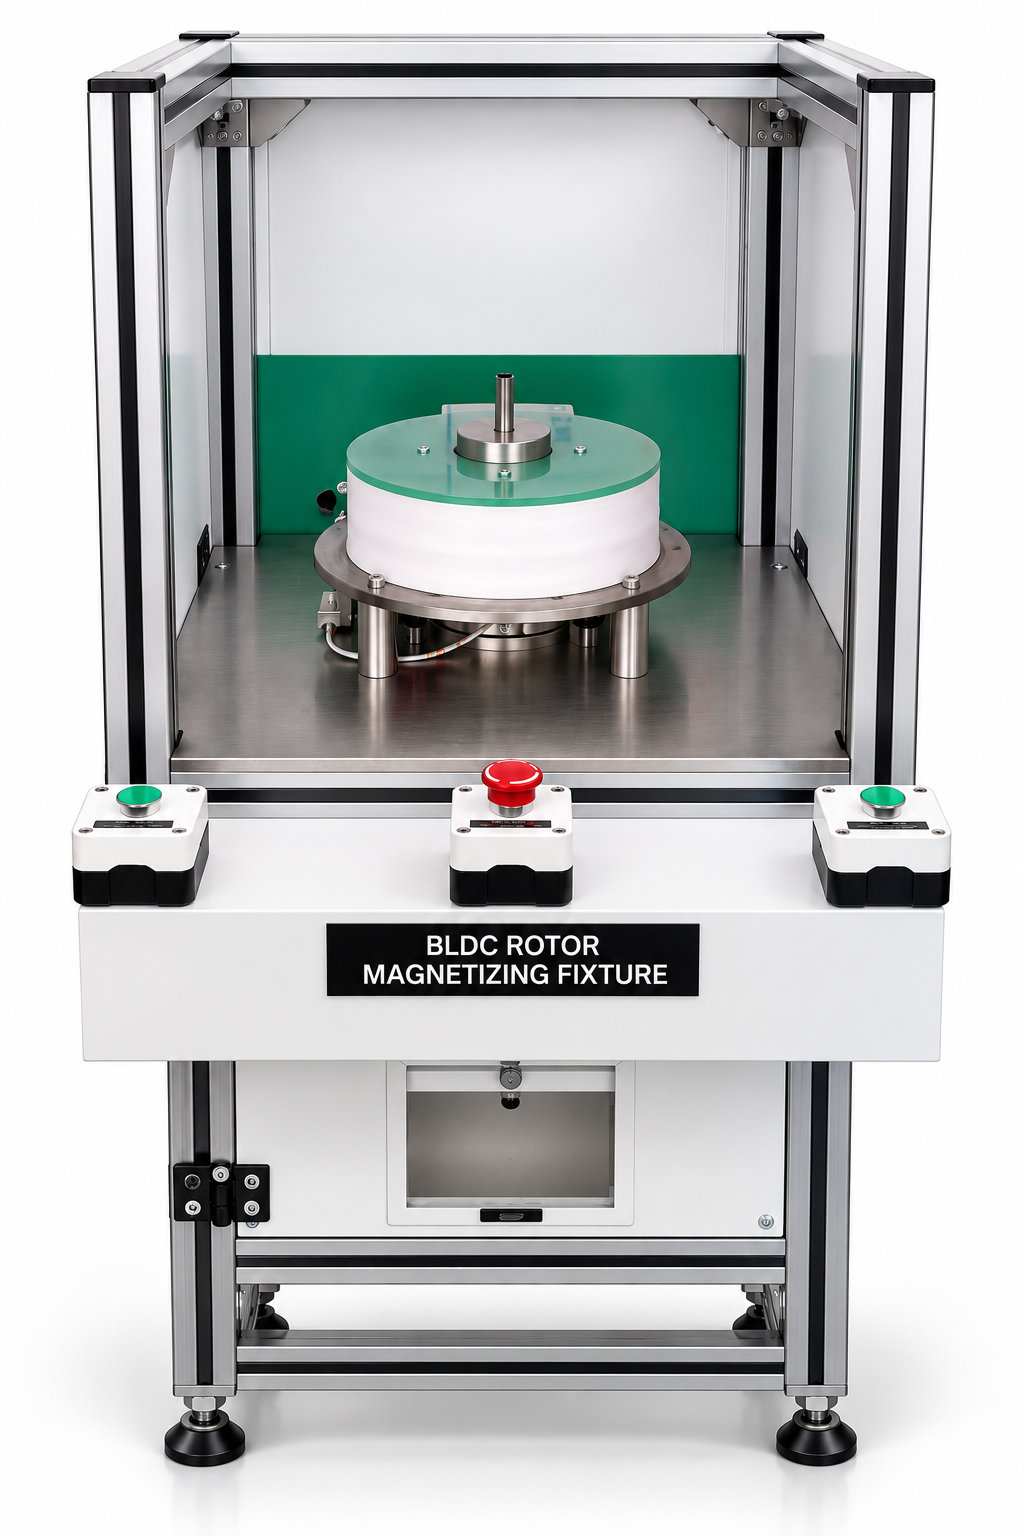
| BLDC and PMSM rotors | Part-specific rotor fixture, often supplied with a rotor magnetizer |
| DC motor housings with arc magnets | Motor housing magnetizer fixture |
| Ring and encoder magnets | Multi-pole fixture matched to pole count and pitch |
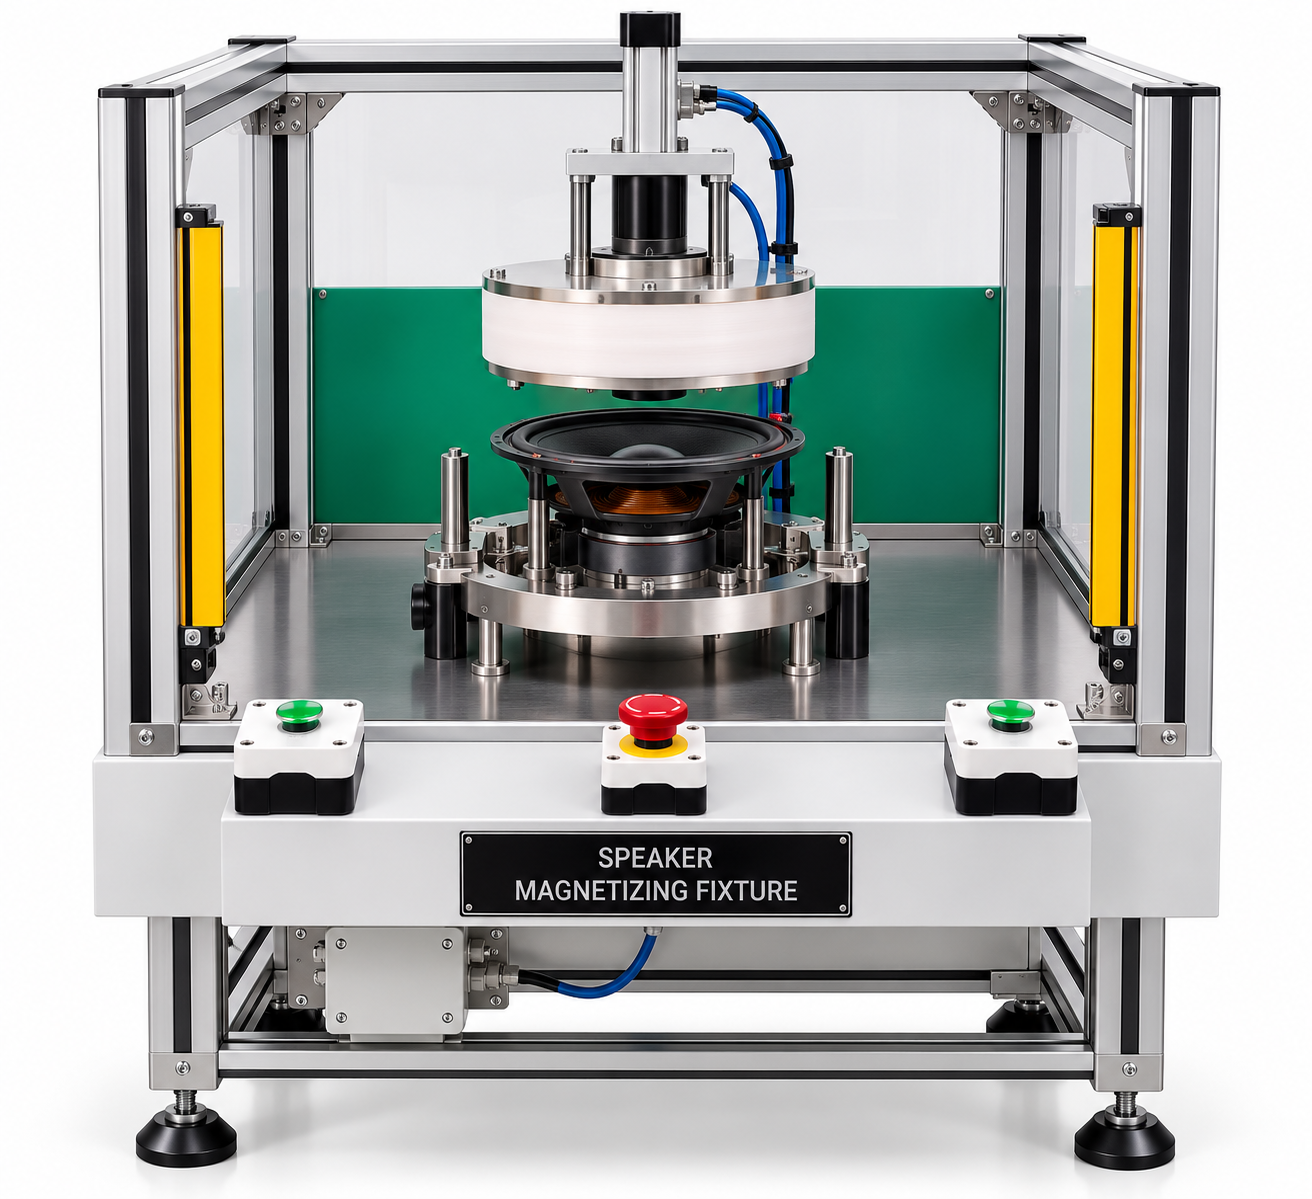
| Loudspeaker magnet assemblies | Coil or fixture sized to the magnet circuit, driven by a speaker magnetizer |
The fixture is usually the most part-specific item in the system and the one that wears. When you introduce a new product, you often change the fixture rather than the machine. Ask how the fixture locates the part, how it is cooled, what limits its life, and how quickly it can be changed over.
Step 5: Work out the cycle time
The pulse itself lasts milliseconds, so it hardly counts. Cycle time is made up of loading, charging, any measurement step and unloading.
Charging time
Average charging power is roughly the energy per pulse divided by the charging time, plus losses. Recharging a 5 kJ bank in 2 seconds needs about 2.5 kW from the charger before losses; doing it in 1 second needs about 5 kW. Faster charging means a larger charger and a heavier supply connection.
Fixture heating
Each pulse leaves heat in the winding. The number of pulses per minute a fixture can sustain depends on the energy per pulse and the cooling method. High-energy, high-rate work may call for forced-air or water cooling, or two fixtures used alternately.
Handling
Manual loading with a foot switch or two-hand control suits lower volumes. For high volumes, handling time usually dominates, and automatic loading with PLC control becomes worthwhile.
Step 6: Build in quality control
- Peak-current monitoring with an upper and lower limit for every pulse, so a weak or abnormal shot is flagged immediately.
- Logging of pulse counts and readings for traceability, and to spot gradual changes in the fixture.
- Offline checks with a gauss meter for surface field, a flux meter with Helmholtz coil for total magnetic moment, and a Hall-probe scan for multi-pole parts.
- Reject handling, such as an interlocked bin, so suspect parts cannot re-enter the line.
Practical points that are easy to miss
- Keep the cable between machine and fixture short. Its resistance and inductance reduce peak current.
- Check the available supply early. Larger machines may need a three-phase connection.
- Allow space for guarding and safe access to the fixture, and train operators before start-up. Our magnetizer safety and maintenance checklist is a useful starting point.
- Test the hardest part in your range, not just the easiest one.
- Remember the steel. A magnet that saturates easily in free air may not do so inside a steel housing.
Need help choosing?
Send us your part drawing, magnet material and grade, pole pattern and target output, and the SK Enterprises team will propose a machine and fixture combination for your application.
Request a quotation for a magnet charging machine or contact us to discuss your requirement.