BLDC ceiling fans have become a major product for Indian appliance makers because they use far less power than conventional induction fans. At the heart of every BLDC fan is a permanent magnet rotor, and in volume production those magnets are almost always magnetized after the rotor is assembled. This guide explains how that is done and what decides whether it is done well.
Key takeaways
- Most BLDC ceiling fans use an outer rotor: the magnets line the inside of a rotor shell that turns around a fixed stator.
- The magnets are fitted unmagnetized and magnetized in one pulse by a multi-pole fixture placed inside the rotor.
- The fixture fixes the pole count and pole positions; the magnetizer supplies enough energy to saturate the magnets.
- Ferrite and NdFeB rotors need very different fields, so the station is sized for the most demanding rotor.
- Peak-current monitoring, pole checks and a back-EMF test confirm every rotor is fully and evenly magnetized.
Inside a BLDC ceiling fan motor
A BLDC fan motor is usually built inside out compared with a conventional motor. The wound stator is fixed to the shaft at the centre, and the rotor — a shell carrying the blades — turns around it. Permanent magnets are bonded to the inside of the rotor’s steel ring, facing the stator across a narrow air gap. Electronic commutation, commonly using Hall sensors on the stator, switches the windings as the poles pass.
Because the fan turns slowly and drives the blades directly, these motors generally use a relatively high pole count, set by the motor designer.
| Magnet option | Typical form | Approx. field to saturate | Notes for magnetization |
|---|---|---|---|
| Sintered ferrite | Arc segments bonded in the ring | 1–1.5 T | Lower energy; poles must line up with the gaps between arcs |
| Bonded NdFeB | One-piece ring | 2.5–3.5 T, grade dependent | Usually isotropic, so the pole pattern is set entirely by the fixture |
| Sintered NdFeB | Arc segments | 2.5–3.5 T, grade dependent | Highest field; arcs must be oriented to suit radial magnetization |
Why fan rotors are magnetized after assembly
Fitting strong magnets one by one into a steel ring is slow and risky: they jump into place, chip, attract steel particles and make adhesive joints hard to control. Fitting unmagnetized magnets avoids all of this. The rotor can be bonded, cured and inspected while the magnets are inert, and the whole pole pattern is then created in one controlled step. The result is a cleaner rotor and a more consistent pattern from one fan to the next. Our page on rotor magnetizers shows where this step sits on a motor line.
The process step by step
1. Assemble the rotor
The magnets or ring are bonded into the rotor shell and the adhesive is allowed to cure. Nothing is magnetized yet.
2. Load and locate
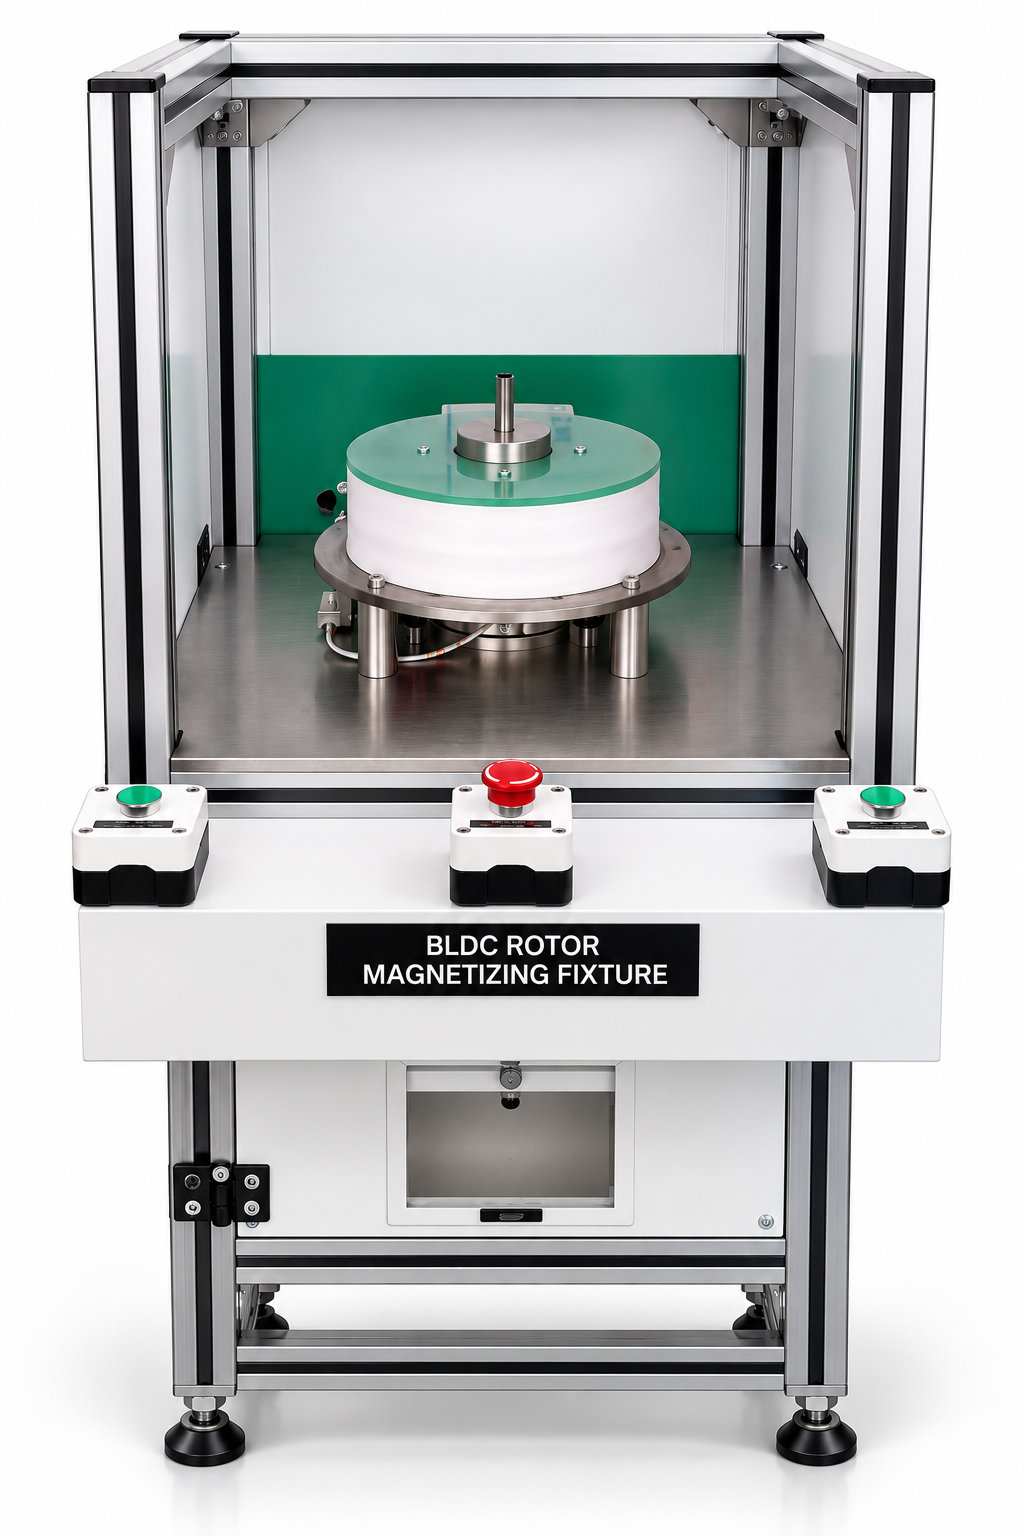
The rotor is placed over an inner (ID) multi-pole fixture that fits inside the magnet ring. Locating features — the bearing seat, a pin or a feature on the shell — hold it concentric and at a fixed angle. With arc magnets, this angle ensures each pole is centred on its arc rather than split across two.
3. Fire the pulse
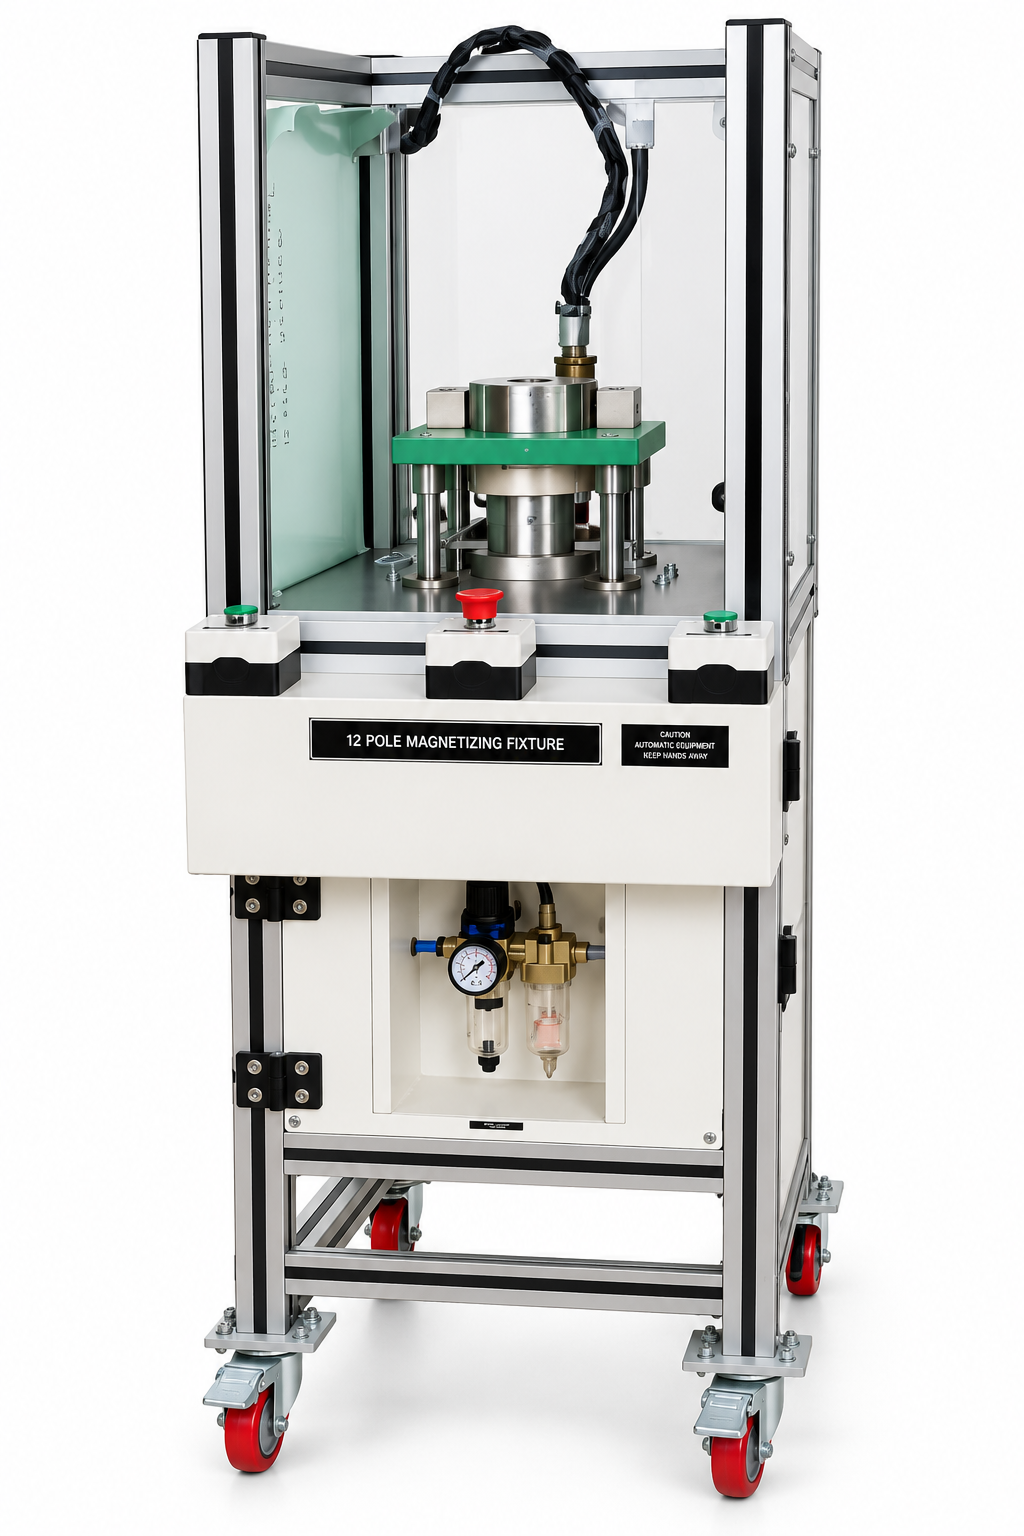
With the guard closed, the operator or PLC fires the magnetizer. A capacitor discharge pulse of a few milliseconds sends several kiloamperes through the fixture conductors, which alternate in direction around the bore. The steel rotor ring carries the return flux, much as it does in the running motor.
4. Unload and check
The magnetized rotor is removed with care, as it now attracts steel strongly. Peak current is checked for every pulse, and sample rotors are tested as described below.
5. Fit over the stator
The magnetized rotor is lowered over the stator using a guide, because it pulls hard towards the stator core.
Designing the fixture
The multi-pole magnetizer fixture is the most rotor-specific part of the station. Its outer diameter matches the magnet bore with a small clearance, and its conductor slots set the pole count and pole pitch. Any skew specified by the motor designer is machined into the slots. High pole counts on a given diameter leave less room for conductors and magnetize a shallower layer, which matters with thicker magnets; our article on multi-pole magnetizers explains why. For continuous fan production, forced-air or water cooling keeps the fixture within temperature.
Sizing the magnetizer
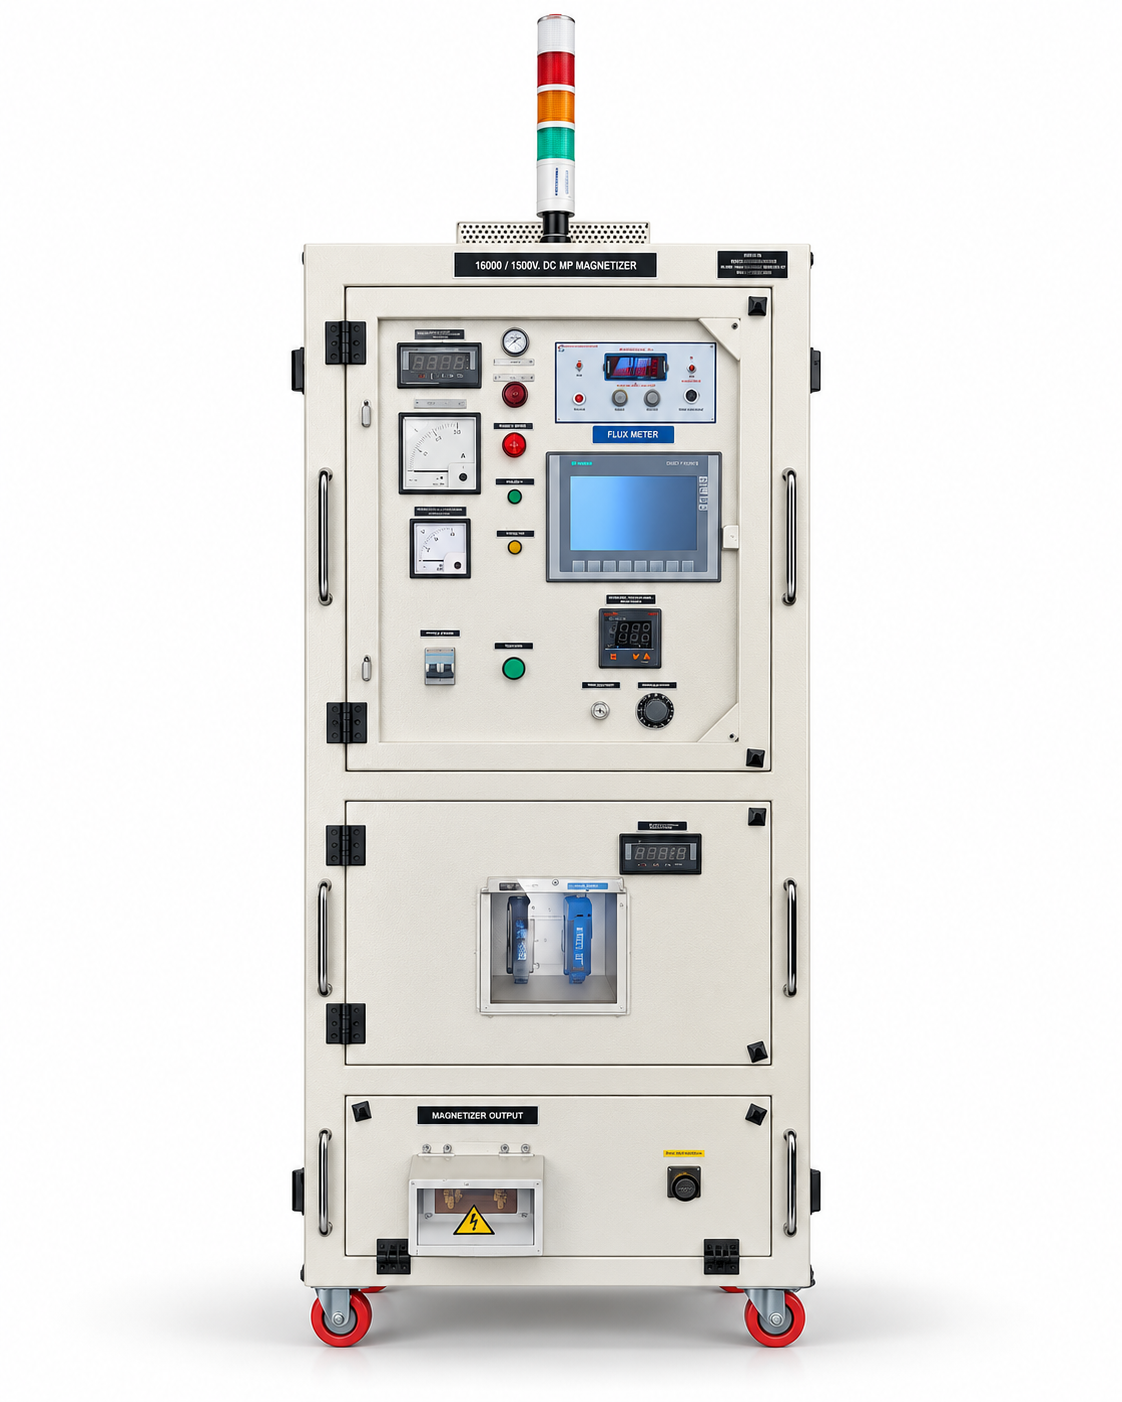
The magnet charging machine behind the fixture must deliver enough energy and voltage to saturate the most demanding rotor on the line — usually an NdFeB design if the plant builds both types. Cycle time is then set by loading, capacitor recharge and fixture heating rather than by the pulse itself. A rotor magnetizer supplied as a matched machine-and-fixture system avoids mismatches between the two.
Checking the result
- Peak-current monitoring on every pulse flags a weak or missing shot immediately.
- Magnetic viewing film gives a quick visual check of pole count and spacing, catching missing or reversed poles.
- Hall-probe scanning of sample rotors measures the strength and position of every pole against a reference rotor.
- Back-EMF or no-load testing of the finished fan motor confirms that the magnetized rotor performs as designed.
Uneven poles often show up as noise or vibration in the finished fan, so a consistent check routine pays off. The home appliances page covers related appliance rotors such as pumps and washing machine motors.
Need help choosing?
To propose a fan rotor magnetizer station, we need the rotor drawing, magnet type and grade, pole count, any skew, how the rotor is located and your target output per shift.
Request a quotation or contact us to discuss your fan rotor.